How to glue mitre joints
Gluing mitre joints might sound like a task reserved for seasoned carpenters, but with the right guidance, you can master this skill yourself.
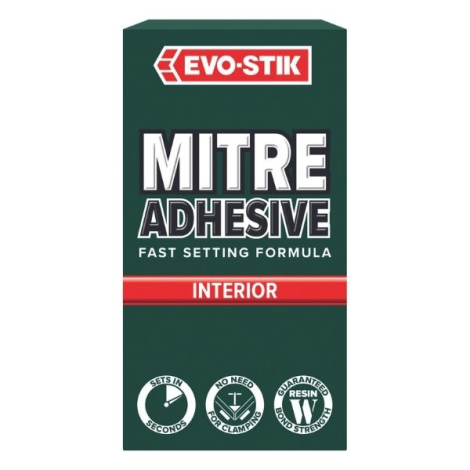
A well-glued mitre joint can make all the difference in projects such as repairing picture frames, installing skirting, or when crafting and repairing furniture. In this article, we’ll show you how to glue a mitre joint using EVO-STIK Mitre Adhesive - your go-to mitre glue kit - for a strong, reliable bond and professional-looking finish.
What are mitre joints?
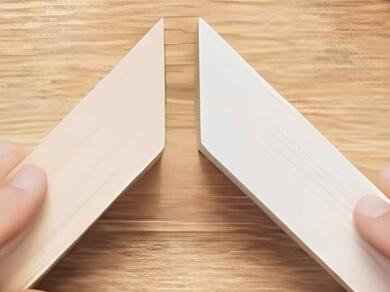
Mitre joints are created by cutting two pieces of material, usually at 45 degrees, to form a right angle. Their clean, seamless appearance makes them ideal for decorative woodworking. When bonded correctly with a quality mitre joint glue, these joints are strong, durable, and visually striking.
Why use EVO-STIK Mitre Adhesive?
Not all adhesives are created equal. For quick, clean, and lasting results, professionals and DIYers alike turn to EVO-STIK Mitre Adhesive Kit. This two-part mitre bond glue includes a high-strength cyanoacrylate adhesive and an activator to accelerate curing - perfect for fast-paced tasks. Also known among tradespeople as mitre bond glue or mitre fast, EVO-STIK’s Mitre Adhesive formulation is designed to deliver reliable performance for a wide range of applications:
- Instant bonding: No clamping needed - sets in seconds.
- Versatile: Ideal for bonding wood, MDF, plastics, rubber, and uPVC.
- Clean finish: Produces tight, neat joints for high-quality craftsmanship.
- Heat resistant: Endures up to +80°C.
- Water resistant: Suitable for damp or moisture-prone environments.
Instructions
Tips for best results
- Work in a ventilated area and protect nearby surfaces, as mitre adhesive is fast-setting and hard to remove. Discover how to remove mitre adhesive from the product page.
- Practise on scrap wood if it's your first time learning how to glue mitre joints.
- Store the mitre bond adhesive in a cool, dry place between +5°C and +25°C for a shelf life of up to 12 months.
Common issues & fixes
- "My mitre joint has gaps in it" - Likely caused by inaccurate cutting, check your angles.
- "My mitre joint has a weak bond" - Surfaces may be dusty, greasy, or uneven. Always clean and sand thoroughly before applying mitre glue. Align your materials before bonding to ensure a smooth, perfect finish. Then, apply a thin, even layer of adhesive to ensure there's no excess adhesive causing a weak, disjointed application.
Let’s recap!
That's it - you've now discovered how to glue mitre joints. With EVO-STIK Mitre Adhesive, you’re equipped with a top-tier mitre adhesive kit that ensures fast, clean, and durable joints.
No matter if you're working on interior fittings or fine woodworking, with our expert guidance and EVO-STIK's reliable mitre glue, your projects will have the strength and polish they deserve.
Disclaimer: This page contains AI-generated images for illustration purposes only.