How to apply coving
Coving is a great way to add a little extra charm to your home. It not only adds character to a room, but it smooths the transition between walls and ceilings, hiding unsightly cracks or gaps to give a clean, classic look. The good news? You don’t need to hire a professional to install it!
With some patience and basic tools, you can install coving yourself. We're sharing everything you need to know to get the job done right. Our guide for how to apply coving will walk you through the process, share some handy tips, and highlight the potential pitfalls to avoid.
What is coving and why install it?
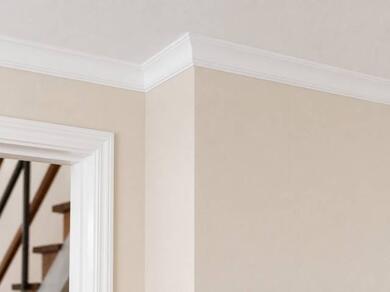
Coving is a decorative moulding installed at the joint between walls and the ceiling. It's no longer only found in large, luxurious spaces, but coving, or ceiling mouldings, are accessible to everyone. It can transform a plain room into something more refined and can even increase the value of your home. Plus, it's a simple, satisfying project that you can tackle over a weekend.
Coving exists in multiple styles including decorative baroque, art deco which utilises curves and straight lines, and modern coving that offers simple, sharp details. Regardless of your style, there is coving available to suit all aesthetics so you can get a clean finish, whatever the interior.
Types of ceiling mouldings
As well as different styles of coving, there are multiple types that you can add to your ceiling space, including:
- Coving and cornice which run around the whole of the ceiling to camouflage the joints between the wall and the ceiling
- Rosettes or domes which are placed in the centre of the ceiling and are used to dress a chandelier or ceiling light
Choosing the right coving
There are different qualities of coving to choose from depending on your budget, the environment its being applied in, and the ease of installation. Three of the most popular materials for coving is:
- Polystyrene - Lightweight and inexpensive so easy to install but can be fragile.
- Polyurethane - More durable than polystyrene coving and arebut still lightweight and affordable.
- Plaster - Heavy and robust, giving a more traditional look but are harder to install and inevitably are the most expensive out of the three.
Before you dive in, make sure you have all the necessary tools and materials to apply the coving correctly.
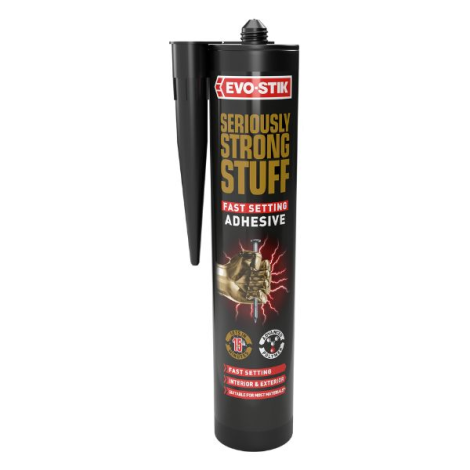
Select one of our best adhesives for coving: Strong Stuff Fast-Set, Strong Stuff Ultimate, Strong Stuff Waterproof, Liquid Nails Interior.
Common mistakes to avoid
Before you get to work applying your coving at home, take note of the common mistakes that can occur, so you can avoid them.
- Incorrect measurements: Double check all measurements before cutting. Remember the saying, ""measure twice, cut once"".
- Wrong angle cuts: Mixing up internal and external corner cuts is a common mistake. Label your mitre box and pieces to keep track.
- Skipping surface preparation: Ensure walls and ceilings are clean and dry. Remove any old wallpaper or flaking paint that might prevent the adhesive from sticking.
- Rushing the job: Allow sufficient time for each step. Rushing can lead to mistakes and less professional finish.
Instructions
Let's sum up!
You've now learnt how to apply coving! Installing coving is a manageable DIY project that can significantly impact the look and feel of your home. By following the steps outlined above and keeping an eye out for common mistakes, you can achieve a professional-looking result without the professional price tag.
Grab your tools and enjoy the process of adding a touch of elegance to your living space!
Disclaimer: This page contains AI-generated images for illustration purposes only.